 Super
SuperSkylight Installation, Replacement & Re-Flashing
Skylights almost never leak through the glass. They leak at the flashing — which is a roofing detail, not a caulking job.
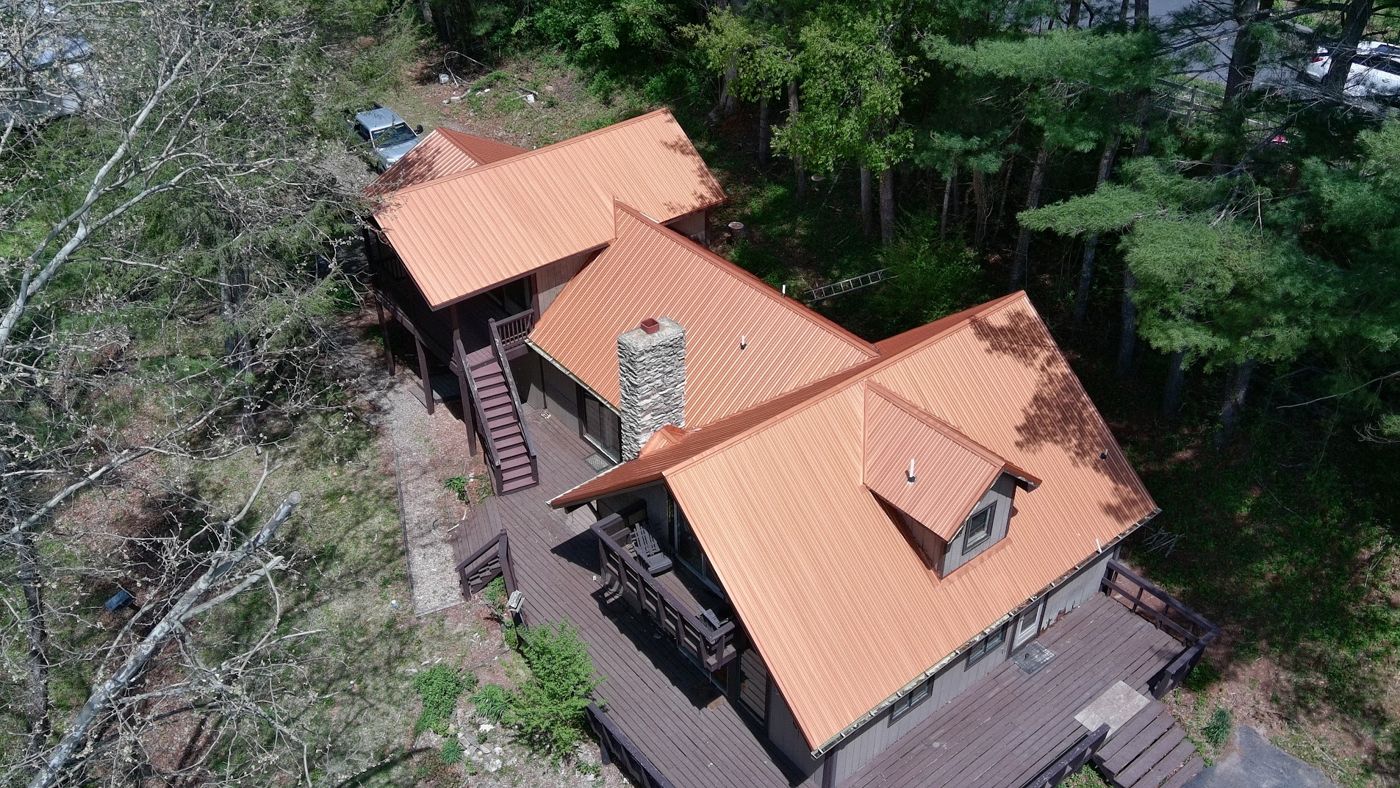
A well-placed skylight changes a dark hallway, stairwell or bathroom more than any light fitting will. A badly flashed one is a hole in your roof with a window over it. SuperRoofs installs, replaces and re-flashes skylights across the Tri-Cities, and treats the flashing as the actual job — because that is what decides whether the thing leaks.
Why skylights leak
Nearly every leaking skylight we are called to fails in one of four ways, and only one of them is the unit's fault:
- No proper flashing kit. Someone set the unit down and ran sealant around the frame. Sealant is a maintenance material with a service life measured in a few years; a flashing kit sheds water mechanically and lasts as long as the roof. This is by far the most common cause.
- Reused flashing. The old kit was put back on during a re-roof to save money. Aluminium work-hardens, the folds crack, and the head flashing rarely sits the same way twice.
- No head-flashing or diverter above the unit. Water coming down the roof plane hits the top of the skylight and has to be split and carried around it. Without that, it piles up against the frame and finds the gap.
- A failed glazing seal. This one genuinely is the unit. When the seal between the panes goes, you get permanent fogging and mineral staining between the glass. That is not repairable and not a flashing fix — the unit needs replacing.
Condensation on the inside face of the glass on a cold morning is usually not a leak at all. It is household humidity meeting a cold surface, which points at ventilation rather than roofing — see our attic ventilation guide. Moisture trapped between the panes is a failed seal and does mean a new unit.
Curb-mount and deck-mount
Deck-mount
The unit fixes directly to the roof decking with an integral frame, so it sits low and close to the roof plane. It is the cleaner-looking option on a house, it flashes very neatly on a normal pitch, and modern deck-mount units come with a matched flashing kit designed for the exact roof covering. It is what we fit on most residential re-roofs.
Curb-mount
The unit sits on a site-built wooden curb, usually 2x6, that raises it above the roof surface. That extra height is worth having on low-slope sections and on roofs that see standing water or heavy debris, and it is often the sensible choice when replacing a unit into an existing curbed opening rather than rebuilding the whole detail. Curbs get wrapped and flashed like a small chimney.
What a proper flashing kit involves
A skylight is flashed the same way a chimney is: in layers, woven into the shingle courses, so every piece laps over the one below it. A correct installation has:
- Self-adhered underlayment turned up onto the frame or curb on all four sides before any metal goes on.
- Sill or apron flashing at the bottom, lapping onto the shingle course below.
- Step flashing up both sides, one piece per shingle course, each lapped by the course above — never one long continuous strip of metal, which is a leak waiting for the first bit of thermal movement.
- Head flashing at the top, tucked under the shingles above so water is carried around the unit rather than into it.
- Cladding or trim pieces that cover the fasteners and finish the frame.
- Sealant only where the manufacturer specifies it — as a supplement to the metal, never as a substitute for it.
Fitting skylights during a roof replacement
The cheapest time to deal with a skylight is while the roof is already off. The flashing kit has to be removed and reinstalled during a tear-off regardless, so the labour is largely spent either way. If your units are over 15 years old, replacing them during a roof replacement costs relatively little on top and resets the whole detail — new unit, new kit, new underlayment, all installed together into fresh shingles instead of being retrofitted into a roof you have just paid for.
The same goes for cutting a new opening. If you have wanted more light in a stairwell or a north-facing room, the tear-off is the moment to say so. Cutting a new skylight into an existing roof means framing the opening between rafters, building the shaft, and finishing the ceiling inside, so it is genuinely a two-trade job — but it is a much smaller one when the covering is already off.
What it costs
2026 planning ranges for this area, not a quote:
- Re-flashing an existing skylight that is sound but leaking — the lower end, and often the honest answer.
- Like-for-like replacement in an existing opening, including a new flashing kit — roughly $1,000 to $2,500 per unit.
- A new opening cut into an existing roof — more, because of framing, shaft construction and interior finishing.
- Venting, electric and remote-operated units — above fixed units, sometimes considerably.
The variables are unit size and type, glazing specification, roof pitch and covering, whether the existing framing can be reused, and how much interior finishing is involved.
Where we will tell you not to
A skylight is a poor idea directly above a shower with no ventilation, on a west-facing plane over a room that already overheats, or on a low-slope section better served by a proper membrane and a curbed unit than by a standard deck-mount kit. If the roof is within a few years of replacement, we will also usually suggest waiting and doing both together rather than flashing a new unit into a roof that is about to come off.
Who we are
SuperRoofs LLC, Bristol, TN 37620, in business since 20 June 2024, licensed and insured, and BBB Accredited with an A rating since 19 February 2025 — the BBB profile (opens in a new tab) is public and independent. Skylight work carries the same 10-year workmanship warranty as the rest of our roofing.
Roofing and skylight work in your town
Get Your Free Skylight Quote
We will look at the unit and the flashing, photograph both, and tell you which one is the problem.
We also serve
Skylight and roofing work across the rest of the Tri-Cities.